
Clara.io exports Scene and Object data to Babylon.js.
The Babylon.js exporter is already available and is located in:
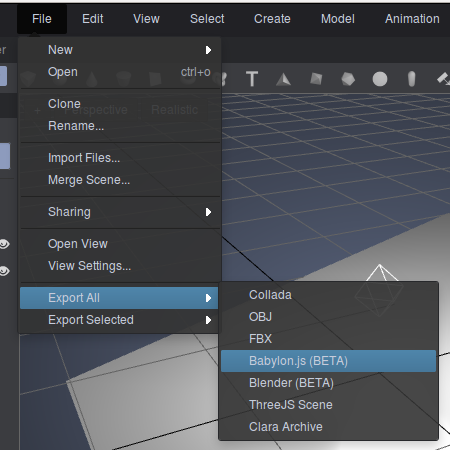
File > Export All > Babylon.js
to export the whole scene and in:
File > Export Selected > Babylon.js
to export only the selected objects.
Note that for Camera, the rotateOrder is expected to be ZYX. Otherwise, this could lead to rotations not properly exported.
Clara.io offers Babylon.js operators for PolyMesh, Light, and Camera that allows to add Babylon.js specific controls.
These operators can be found in the category Exporter, which means that their effects can will only be used for exported .babylon files and don’t change the scene in Clara.io.
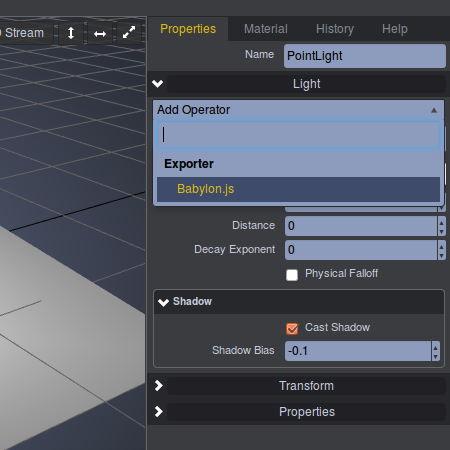
Note that for PolyMesh, if the skin operator is used, the Babylon.js operator should be used before the skin operator.
First of all, you should create a simple html web page:
<!DOCTYPE html>
<html xmlns="http://www.w3.org/1999/xhtml">
<head>
  <title>Using babylon.js - How to load a scene</title>
  <script src="babylon.js"></script>
  <style>
    html, body {
      width:  100%;
      height: 100%;
      padding: 0;
      margin:  0;
      overflow: hidden;
    }
    #renderCanvas {
      width:  100%;
      height: 100%;
    }
  </style>
</head>
<body>
  <canvas id="renderCanvas"></canvas>
 </body>
</html>
This page is pretty simple because all you need is just a canvas and a reference to babylon.js.
Then you will have to use BABYLON.SceneLoader object to load your scene. To do so, just add this script block right after the canvas:
<script>
  if (BABYLON.Engine.isSupported()) {
    var canvas = document.getElementById("renderCanvas");
    var engine = new BABYLON.Engine(canvas, true);

    BABYLON.SceneLoader.Load("", "scene.babylon", engine, function (newScene) {
      // Wait for textures and shaders to be ready
      newScene.executeWhenReady(function () {
        // Attach camera to canvas inputs
        newScene.activeCamera.attachControl(canvas);

        // Once the scene is loaded, just register a render loop to render it
        engine.runRenderLoop(function() {
          newScene.render();
        });
      });
    }, function (progress) {
        // To do: give progress feedback to user
    });
  }
</script>
the Load function takes the following parameters:
Once the scene is loaded, just wait for the textures and shaders to be ready, connect the camera to the canvas and let’s go!
Fairly simple, isn’t it?
Please note that the textures and the .babylon file must be side by side
Another function is also available to interact with .babylon files: BABYLON.SceneLoader.importMesh:
BABYLON.SceneLoader.ImportMesh("spaceship", "Scenes/SpaceDek/", "SpaceDek.babylon", scene,
                               function(newMeshes, particleSystems, skeletons) {
});
This function is intended to import meshes (with their materials and particle systems) from a scene to another. It takes the following parameters:
Let create a sample scene with:
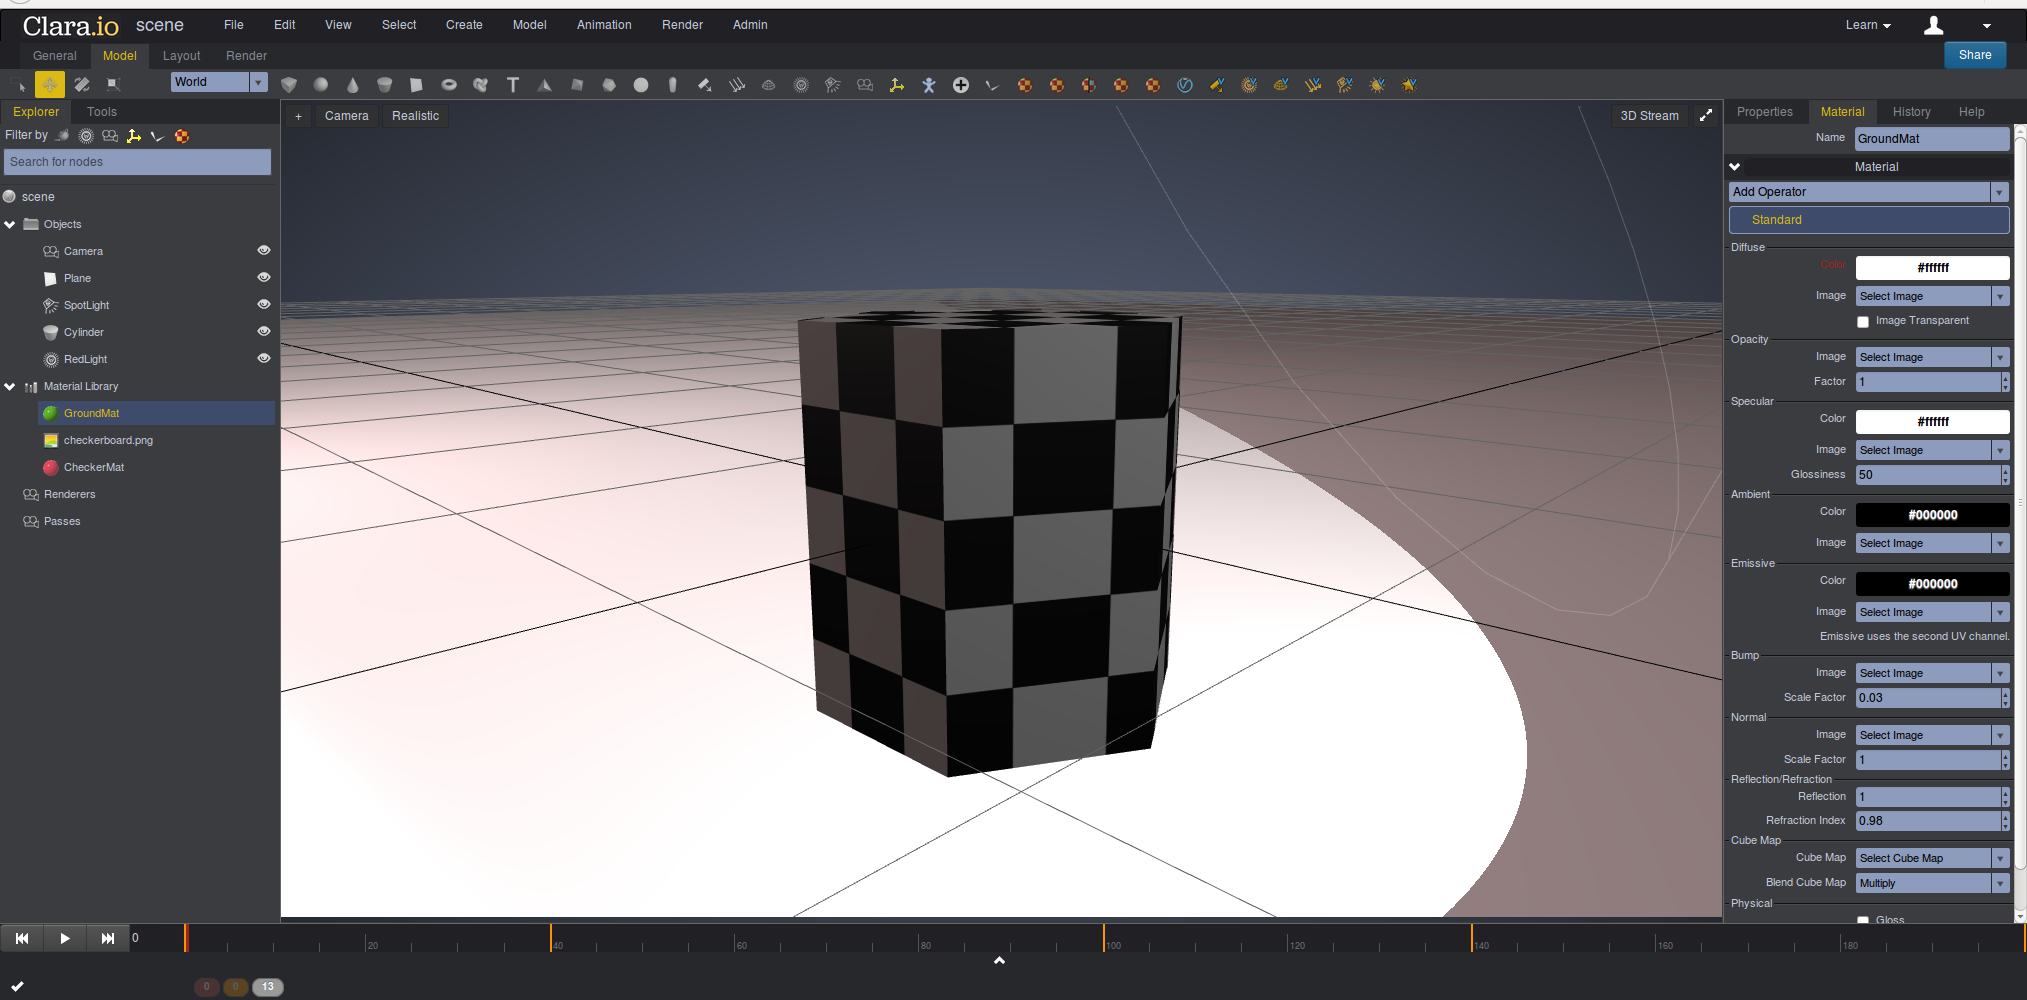
The cylinder and the plane have a Babylon.js operator with properties Cast Shadow and Receive Shadow set to true. The spot light has a Babylon.js operator with a shadow map type set to Standard with a size of 1024.
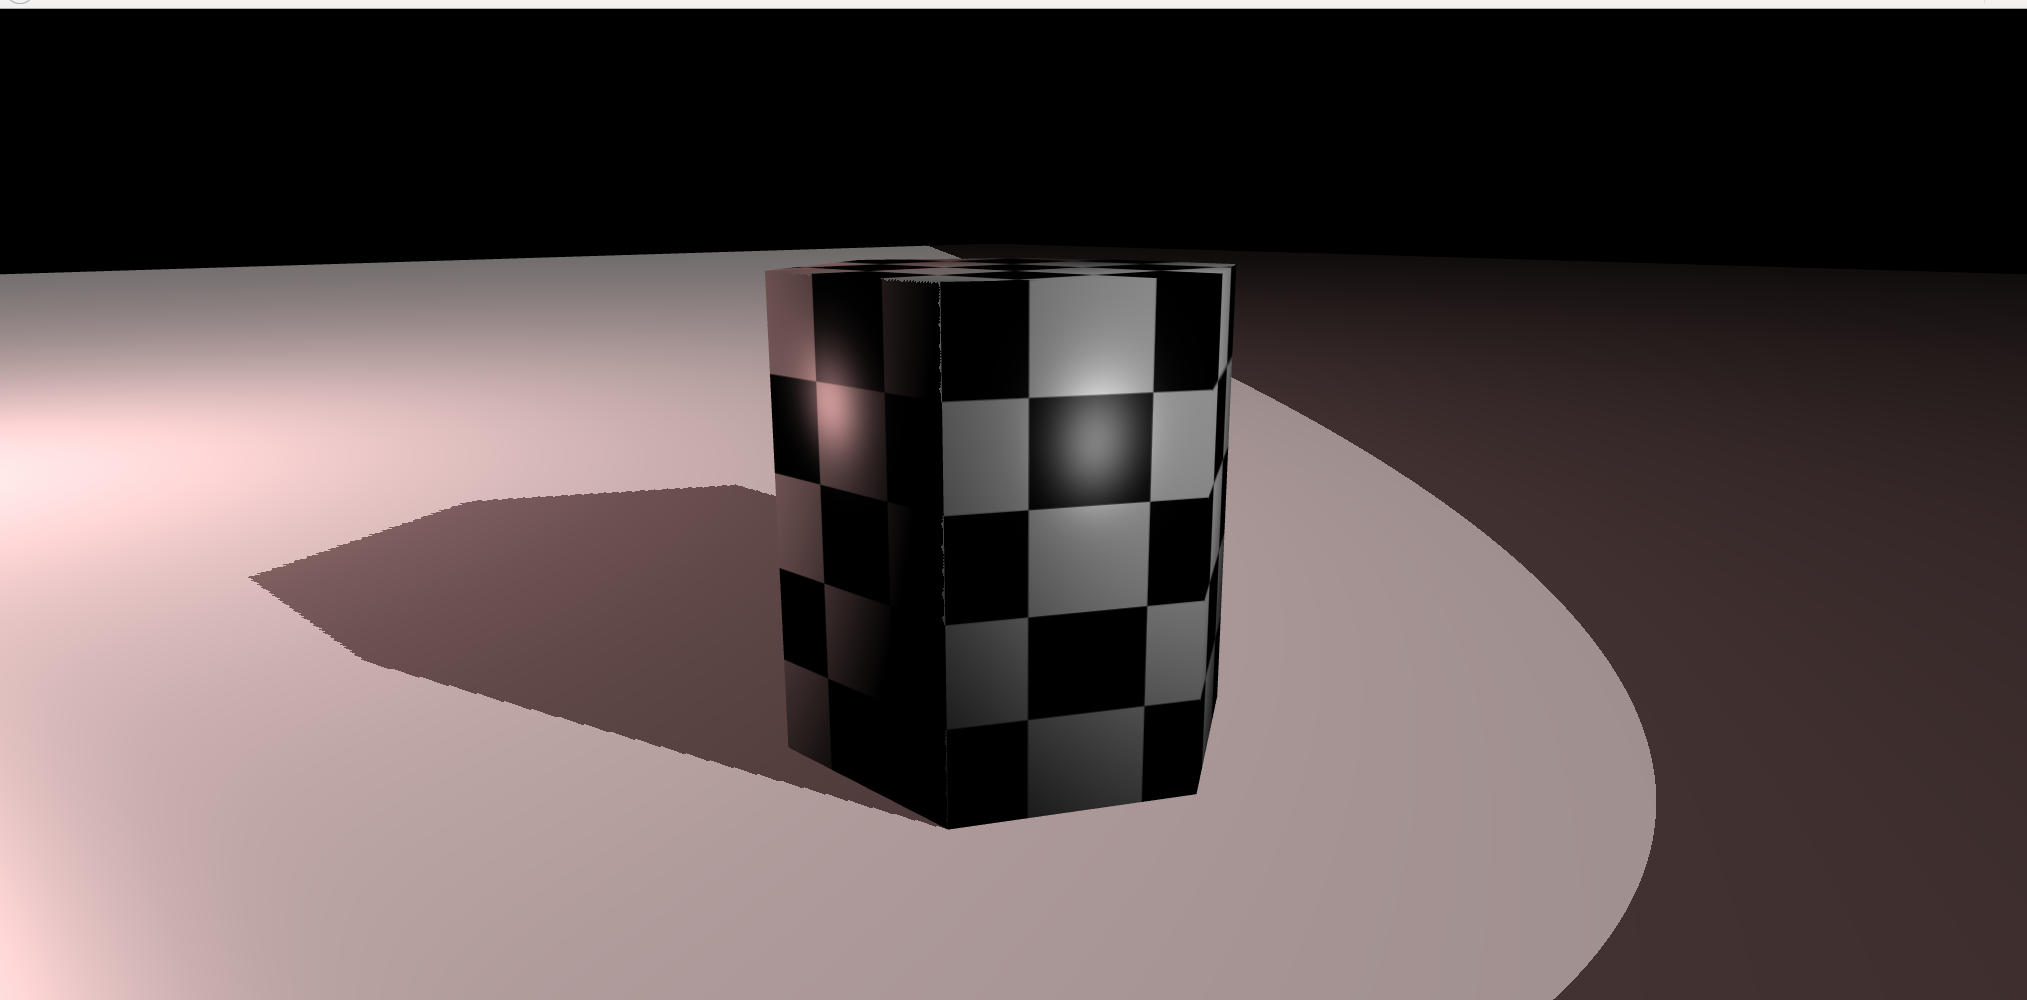
Once exported and loaded with the sample code above, the Babylon.js scene looks like this:
There is a great and easy way to test your scene: the Babylon.js Sandbox. With a single drag’n’drop into a web page, you will be able to test your scene without any more setup.
You will need to authorize .babylon MIME type on your web server (and furthermore you will also need to authorize .babylonmeshdata MIME type if you want to use incremental loading)