After applying a Material and a Texture image to your 3D model, you’ll most likely have to go in and make some adjustments to the way your textures are projected onto your mesh. Textures are projected onto your PolyMesh models using UV Maps. These define where, and how texture images appear onto your 3D models.
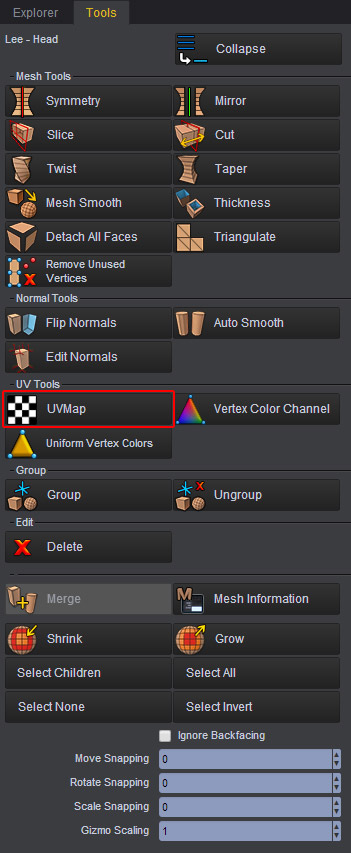
If you ever need to adjust your UVs to display a texture properly onto your 3D model, simply select the Faces of the area that you want to adjust, then go to Tools > UV Mapping > UV Map.
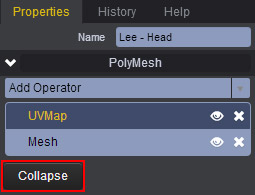
After applying a UV Map from the Tools panel, you can begin adjusting your UVs from the Properties panel on the right of the screen.
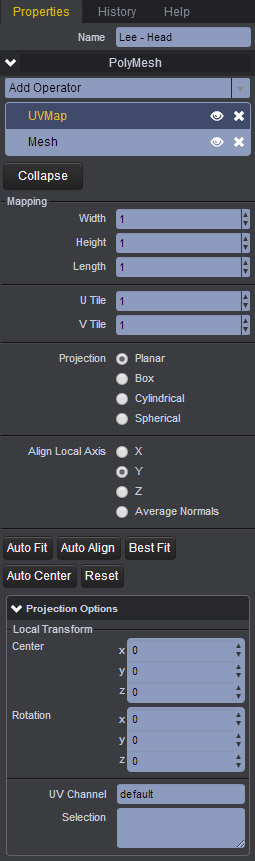
From the Properties of your UV Map, you can adjust the physical size of your texture projection using the Width, Height, and Length accordingly.
The U** and **V Tiles are used to adjust the repetitions of your texture image vertically and horizontally.
The Projection types Planar, Box, Cylindrical, and Spherical are primitive presets that project the UVs based on the generic shape of your geometry. If you’re applying the UV Map to an arm of a character for example, then it is logical to use a Cylindrical Projection preset. If you’re applying a tile of bricks to a house for example, then it is logical to use a Box projection and so on.
You can further adjust the alignment of your UV Map to compliment the X*, *Y, or Z** axis. Alternatively, you can choose to average everything out using the **Average Normals alignment.
You can also apply the following projection solvers, Auto Fit, Auto Align, Best Fit, Auto Center, or Reset. These are useful in cases when the Projection Presets are not enough to give you a complete solution.
Lastly, you can also choose to physically Translate and Rotate your UV projection on the X*, *Y and X axis.
When you’re done adjusting the UV Properties, be sure to hit the Collapse button to bake the information onto your model. Neglecting this step could cause your scene to become slower in the long run.